I love looking at pictures of Pinterest fails. I just think they’re super funny and I think we’ve all experienced them…including myself! I remember seeing a recipe for pumpkin quinoa chili that looked amazing. I decided to make it and I followed the recipe exactly. It was the worse batch of chili I had ever cooked. It tasted awful. The quinoa wasn’t cooked enough and the flavors just didn’t work together. I ended up throwing the whole thing out.
So, what does any of this have to do with a cabinet? Well, I’m getting there! As I was on Pinterest one day I saw a picture of a cabinet made from a old window. I fell in love with it right then and there! You see, I have a obsession with old windows (I know they’re in trend right now, but I’ve liked them for a long time) and I just had to have that cabinet! The one on Pinterest wasn’t for sale and to be honest, I’m the type of person who likes to do things themselves (or make my husband do them). So, I showed the picture to my husband and started searching for the perfect window.
Once I found the perfect window, my husband started to draw out plans. For no reason at all I began to worry that my big plans would not go well. Would my cabinet just be another one of those Pintrest fail pictures? I hoped not. As we began to build it, my husband stated from the get go that this wasn’t his favorite project. Things weren’t going the way they should, but I encouraged him to keep going! I’m glad I did because the finished project was worth all the time it took to build it.
I documented the building of the cabinet and put my own touch on it. I recently discovered how cool it is to put mod podge on wood with tissue paper!
After my husband built it, my job started. The first coat of paint was applied.
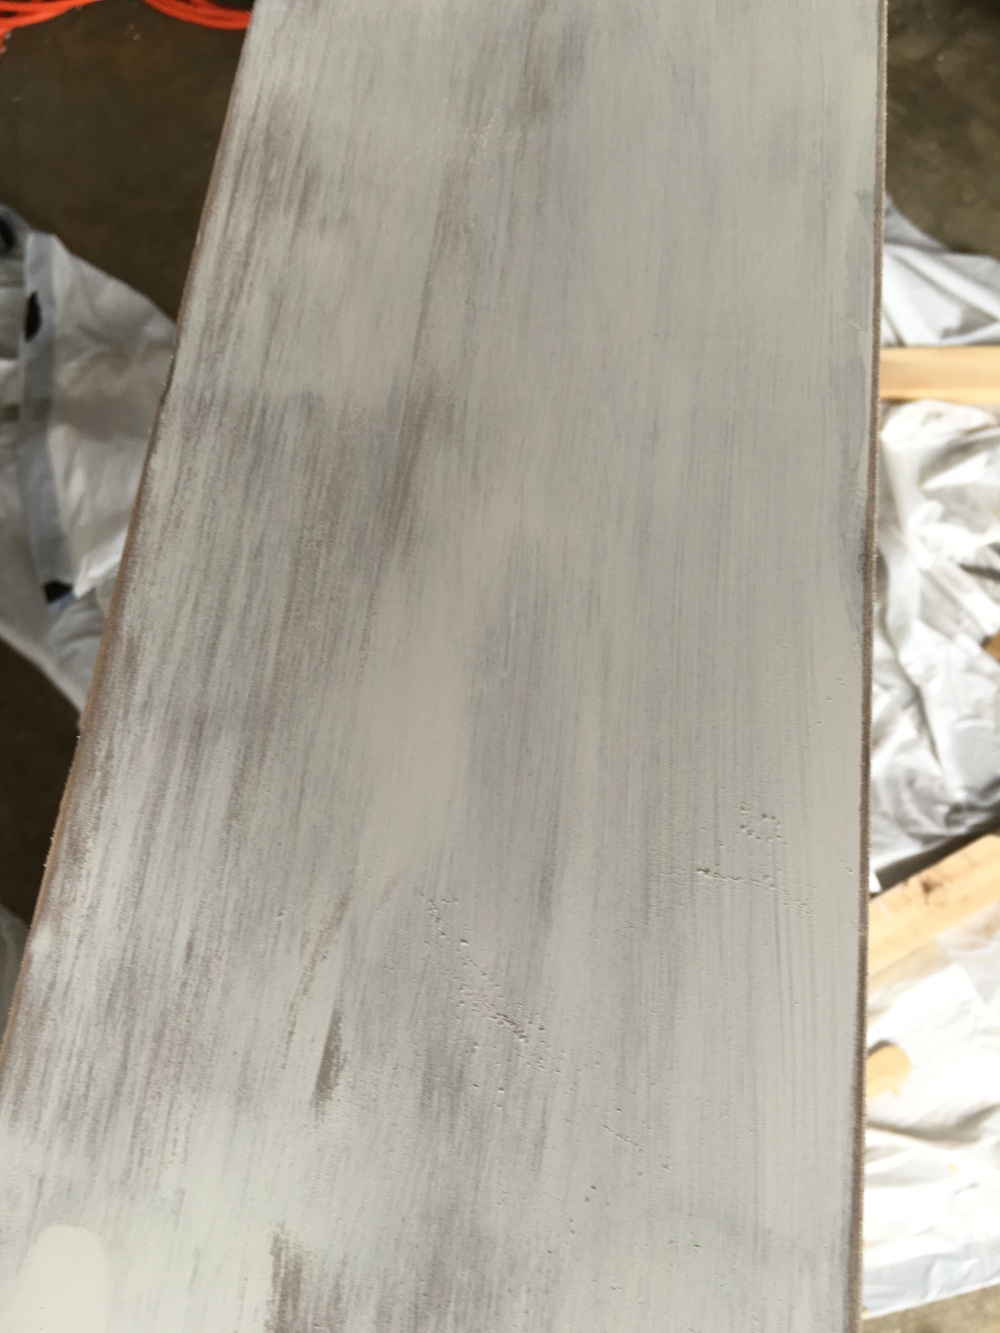
Then the second coat. I also want to note that we stained the wood before we added the paint. This is what the wood looked like after I sanded it. I love that you can see the dark wood coming out of the back.
Just in case you wondered we used Waverly Chalk paint. I bought this from Wal-mart. I didn’t think I would ever buy paint from Wal-mart but it worked.
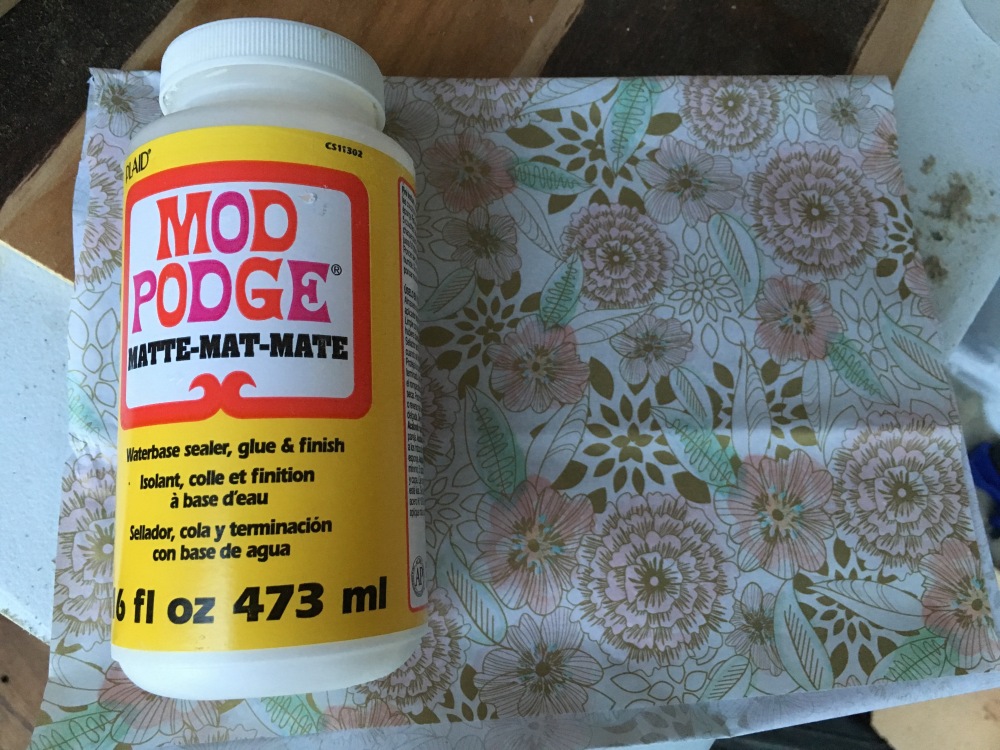
This was probably my favorite part of the project. I used tissue paper (you can also use napkins) and Mod Podge to decorate the back of the cabinet. I wanted to give it that vintage look. Once the Mod Podge drys you sand it to give it that worn look. See below.
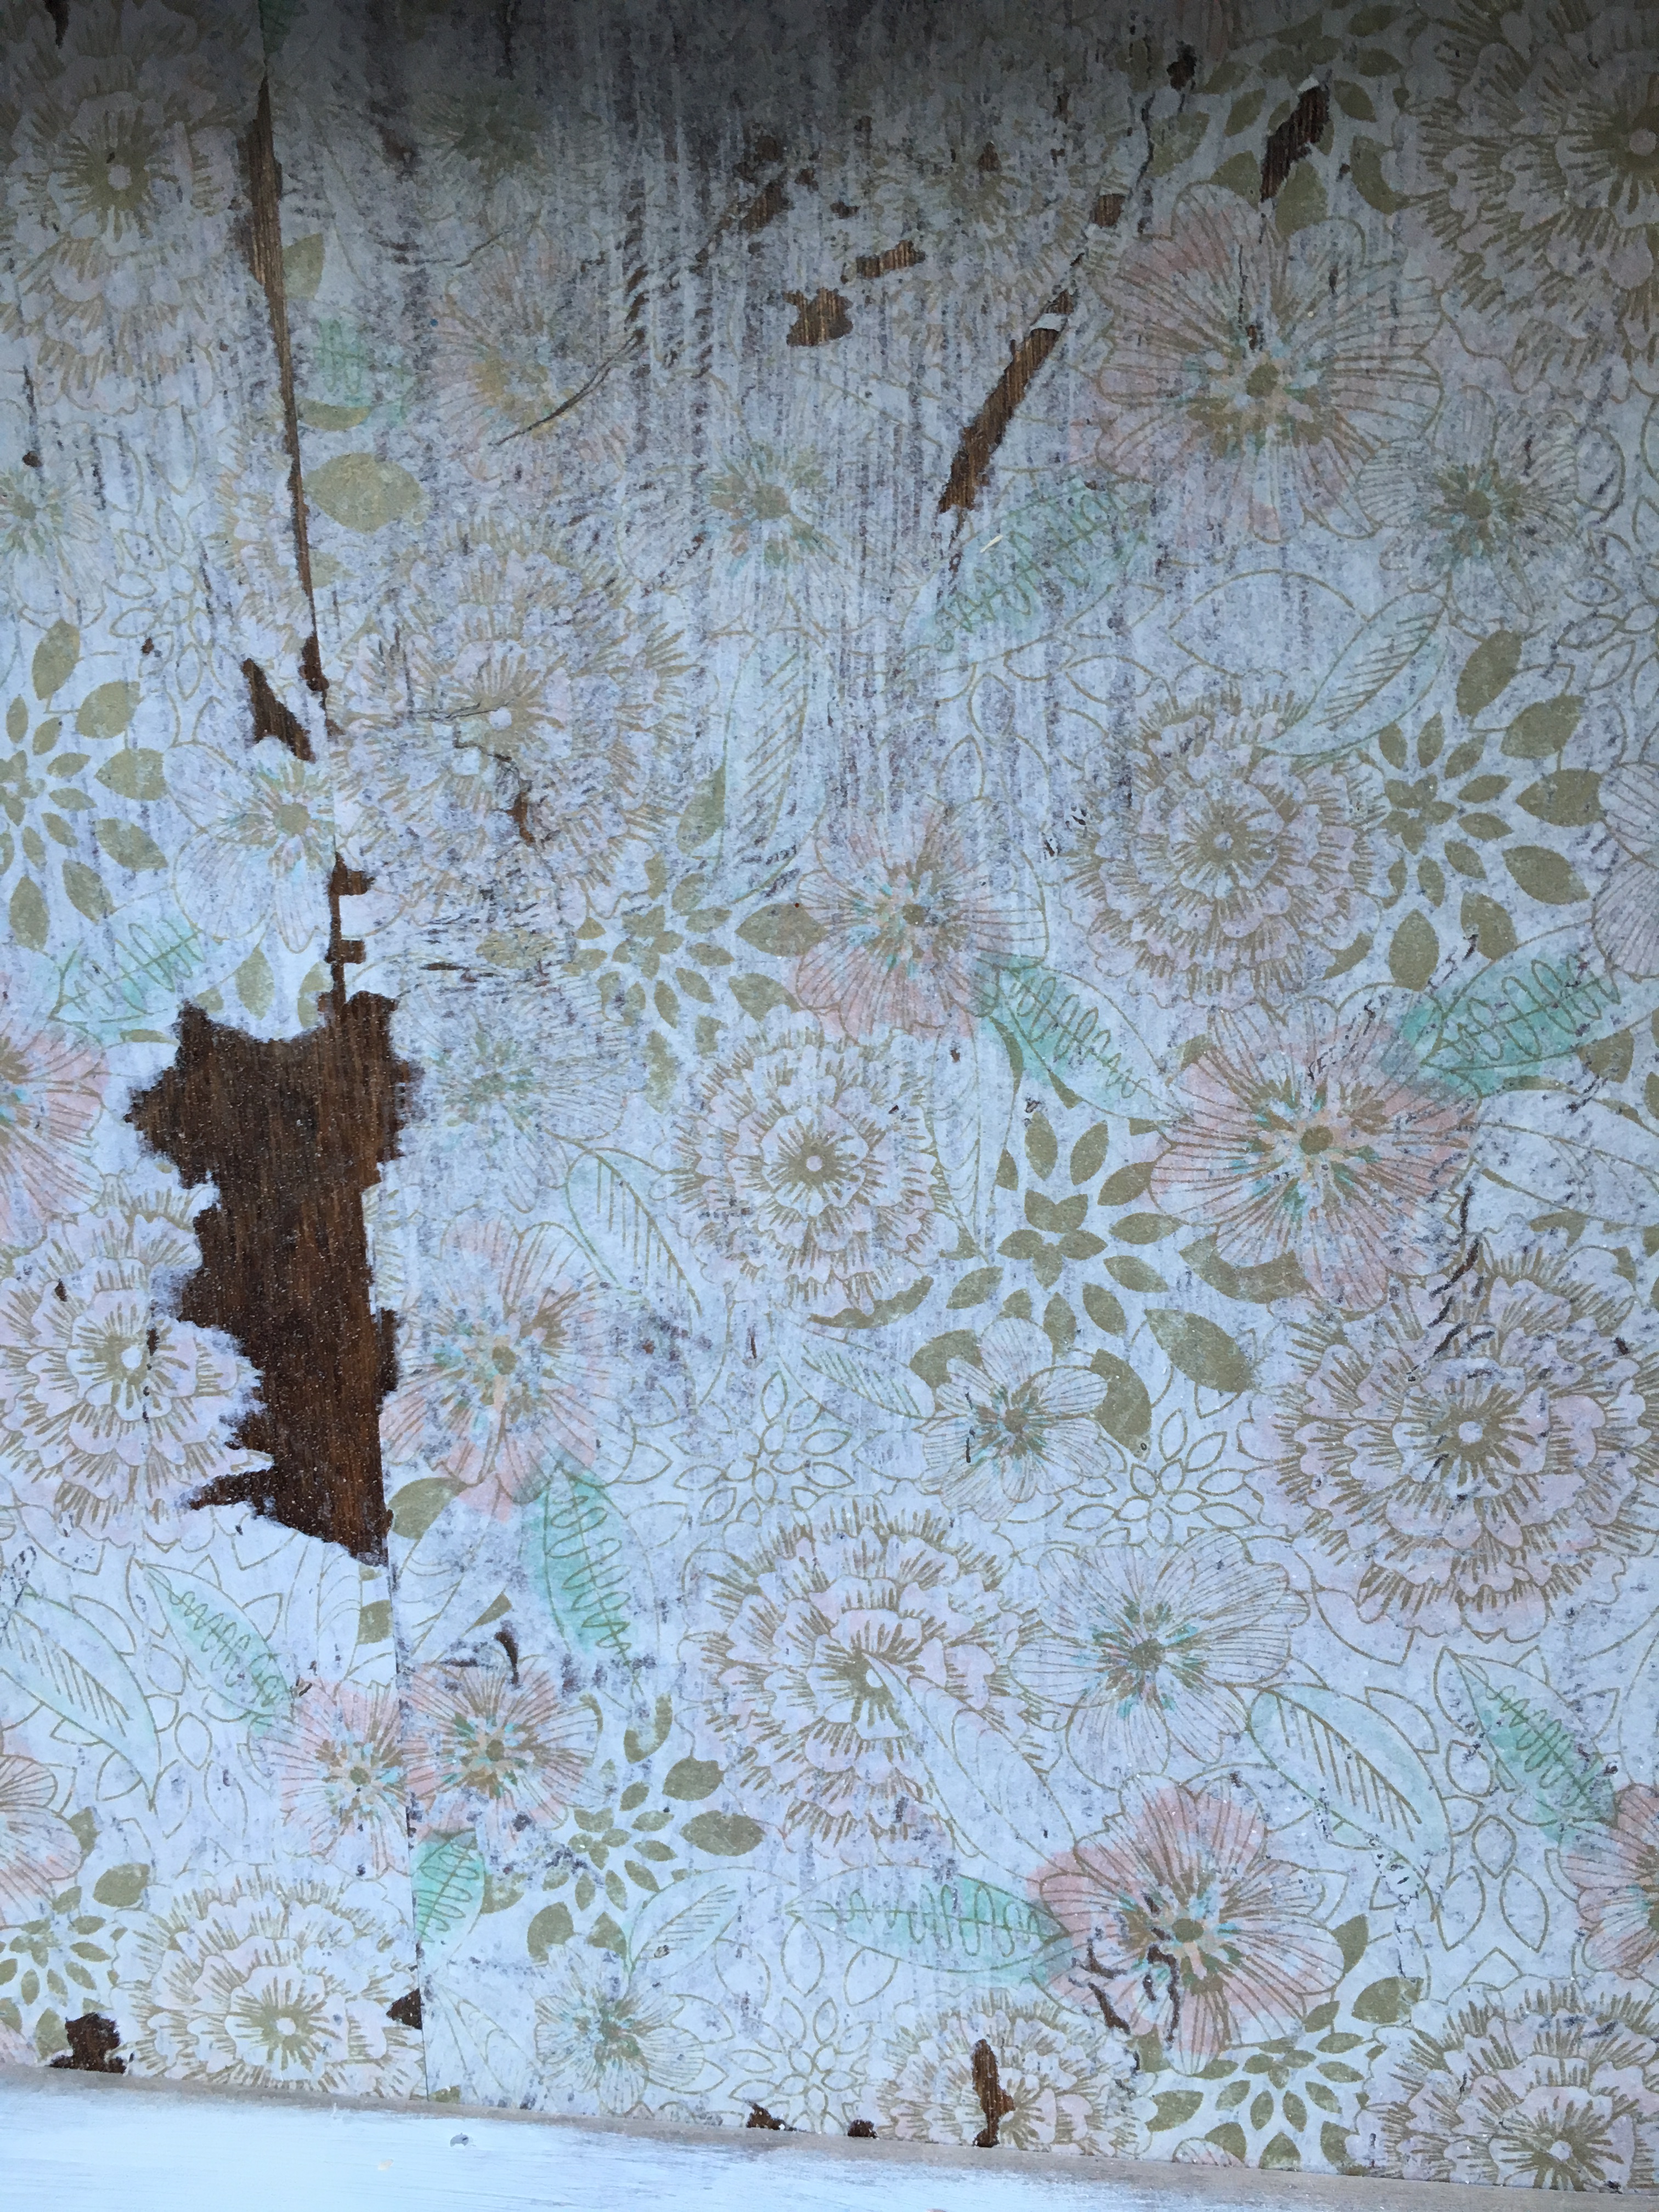
To many that rip in the tissue paper might seem bad but I loved it. It gave it just the look I wanted.
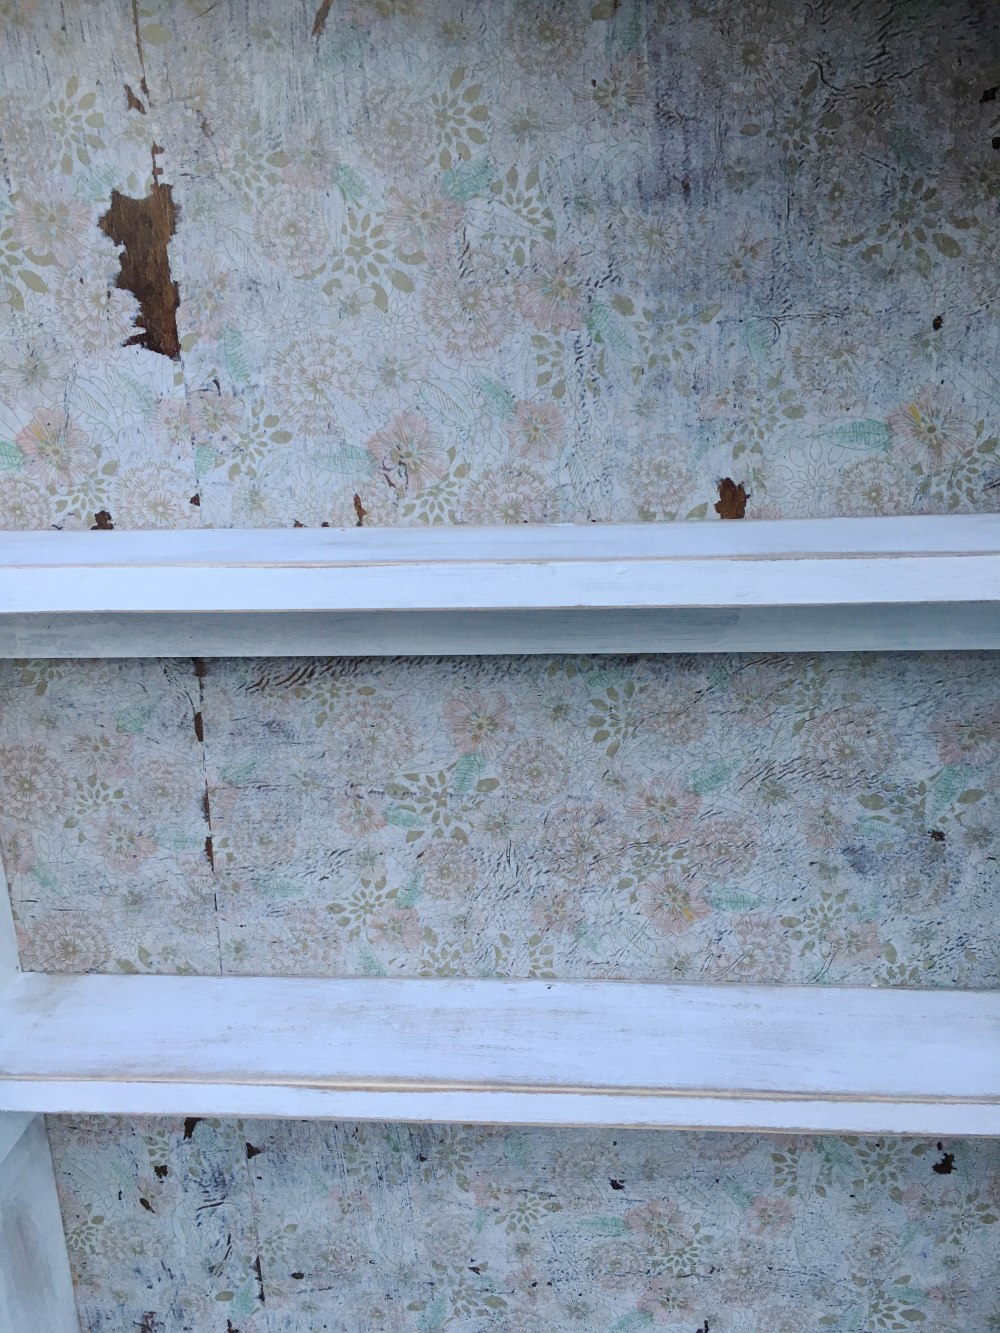
Above is a better look at what it look like with the back added.
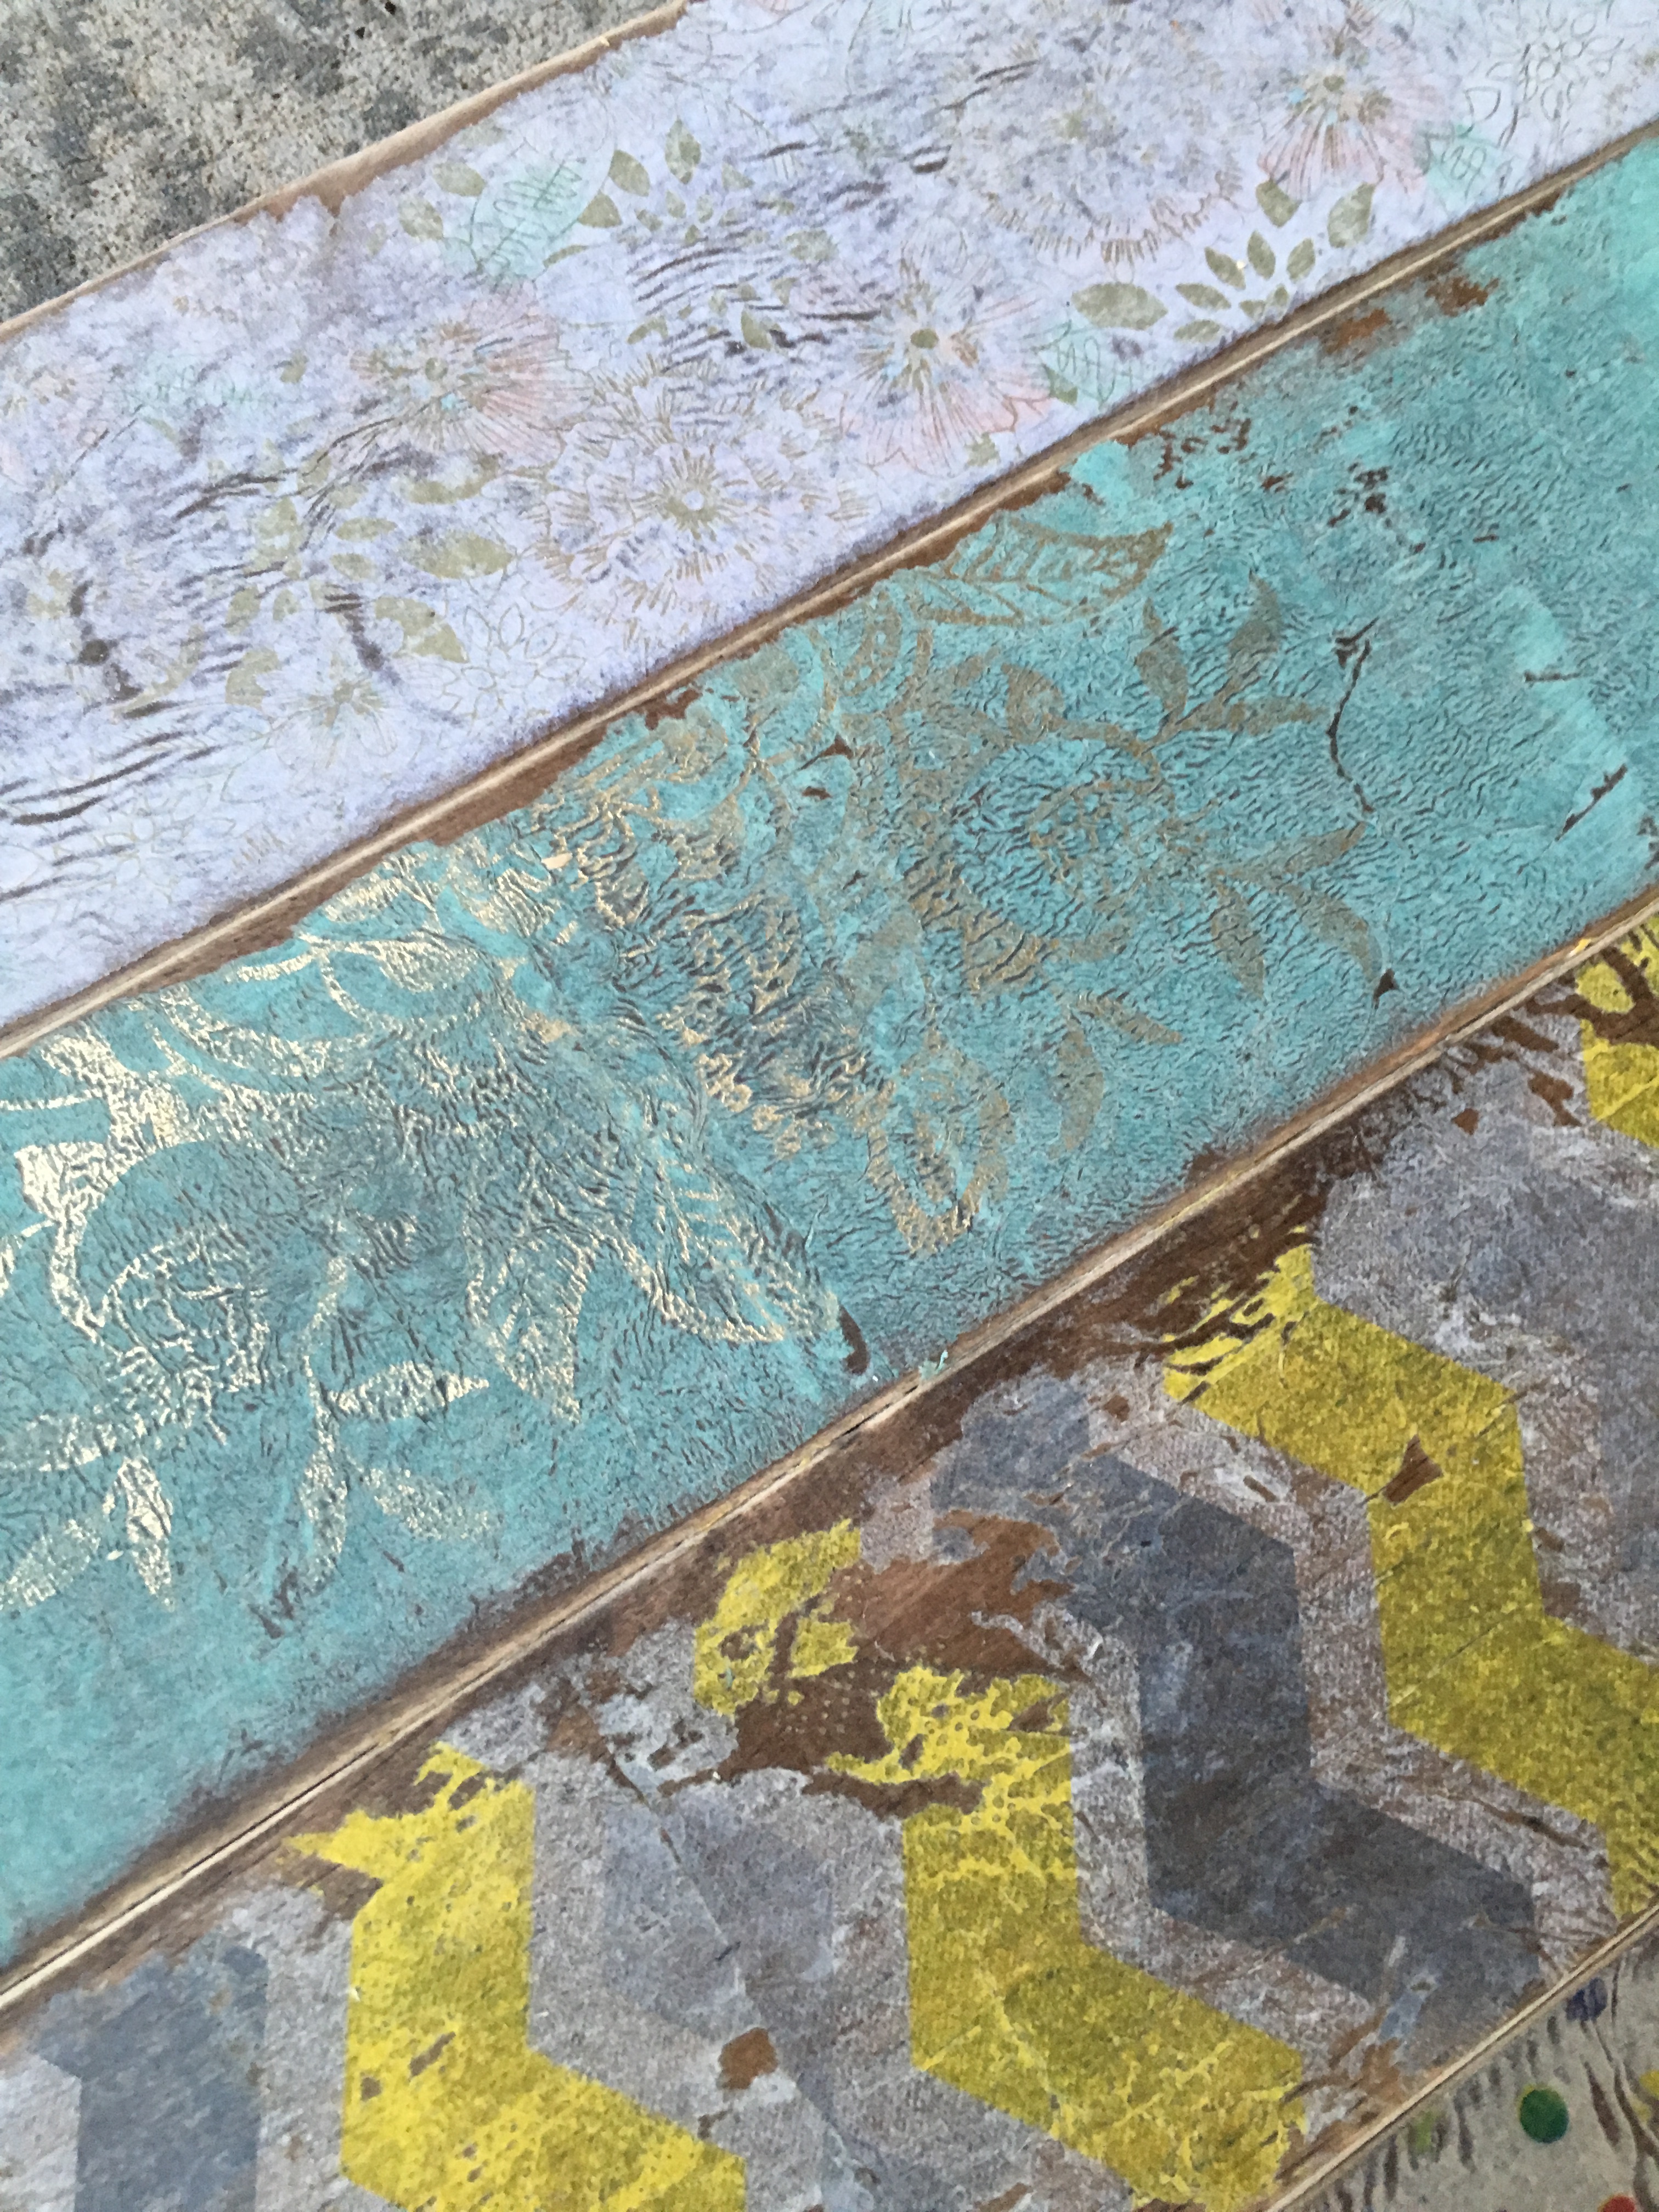 As I was doing the back of the cabinet I also practiced on some other spare pieces of wood laying around. Seriously love this!
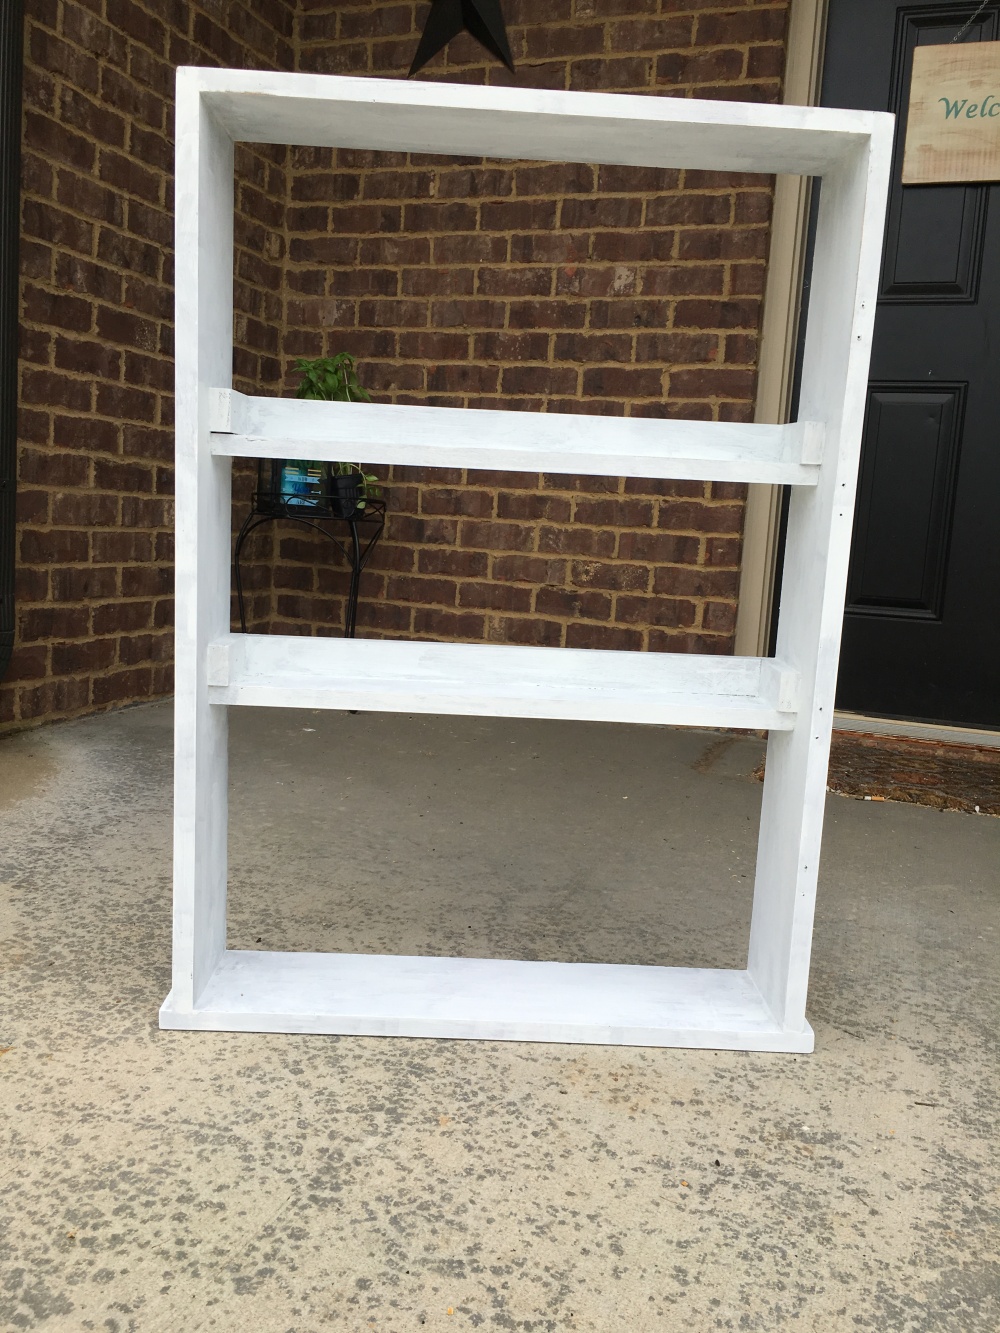
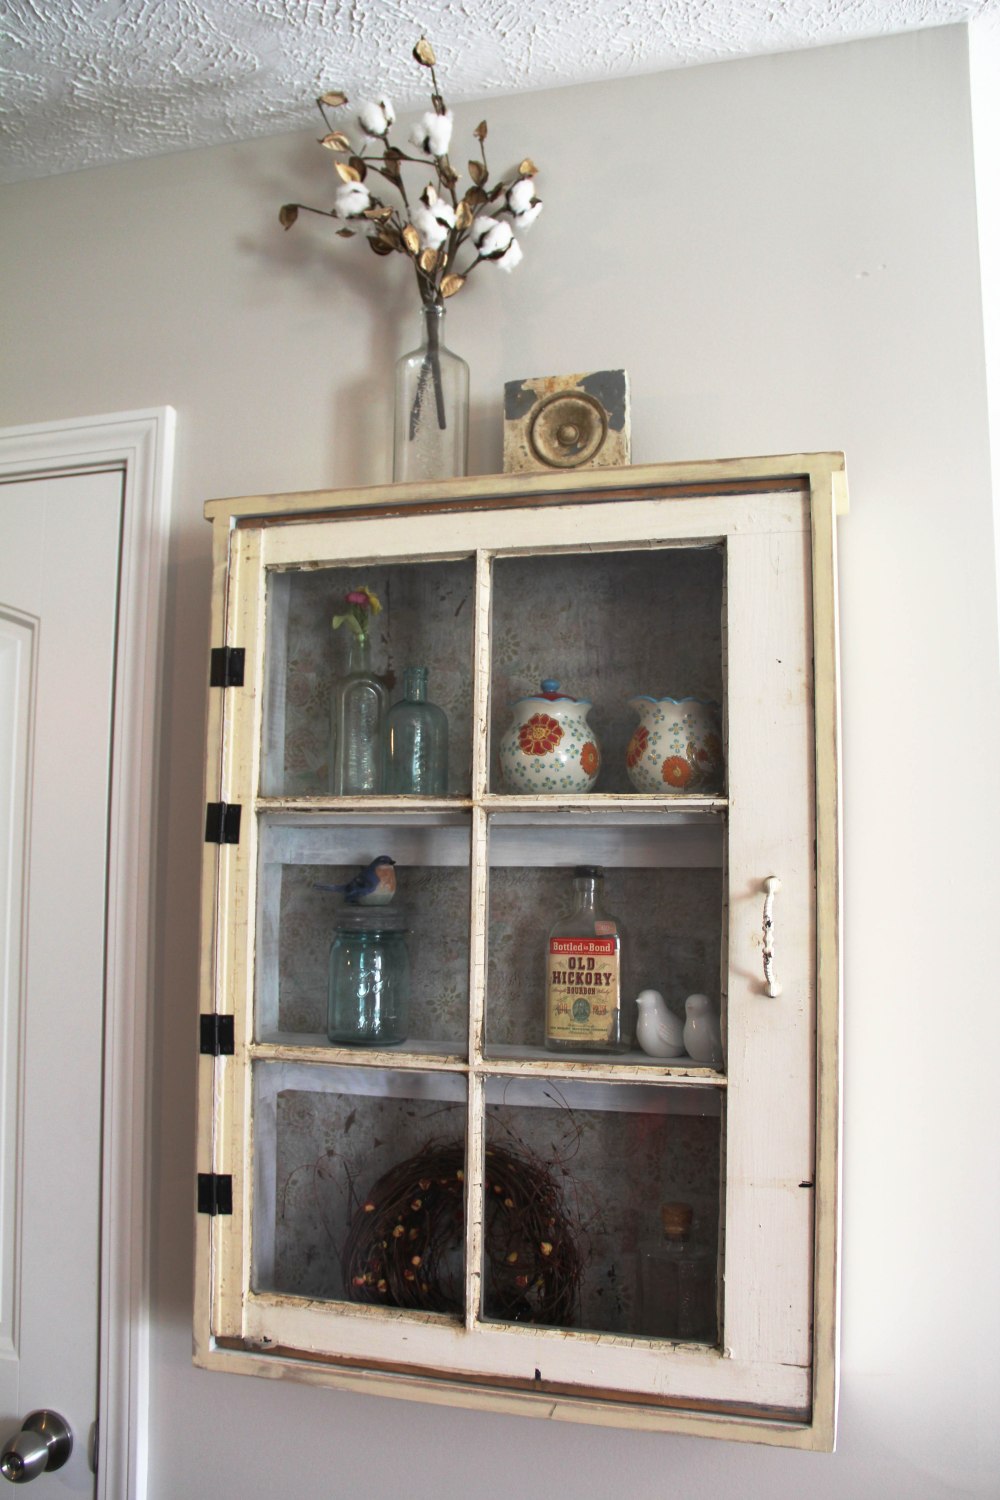 The finished Product! I decorated with it with some items I had around the house but I had a friend suggest we could use it as a spice cabinet. It really can be used for anything! I love it! This was definitely not a Pinterest fail.

