Over the years I’ve come to realize that I really enjoy making decorative items for my home as supposed to picking out items in a store. To me it just makes the item special. I really feel like I’ve accomplished something! Sure some of those items over the years came out cheesy but I think that’s the fun part—Just letting your creative side go and seeing what happens!
Many of the items in my home have been made by myself or my awesome husband. I love the fact that our kitchen table is made by his hands.
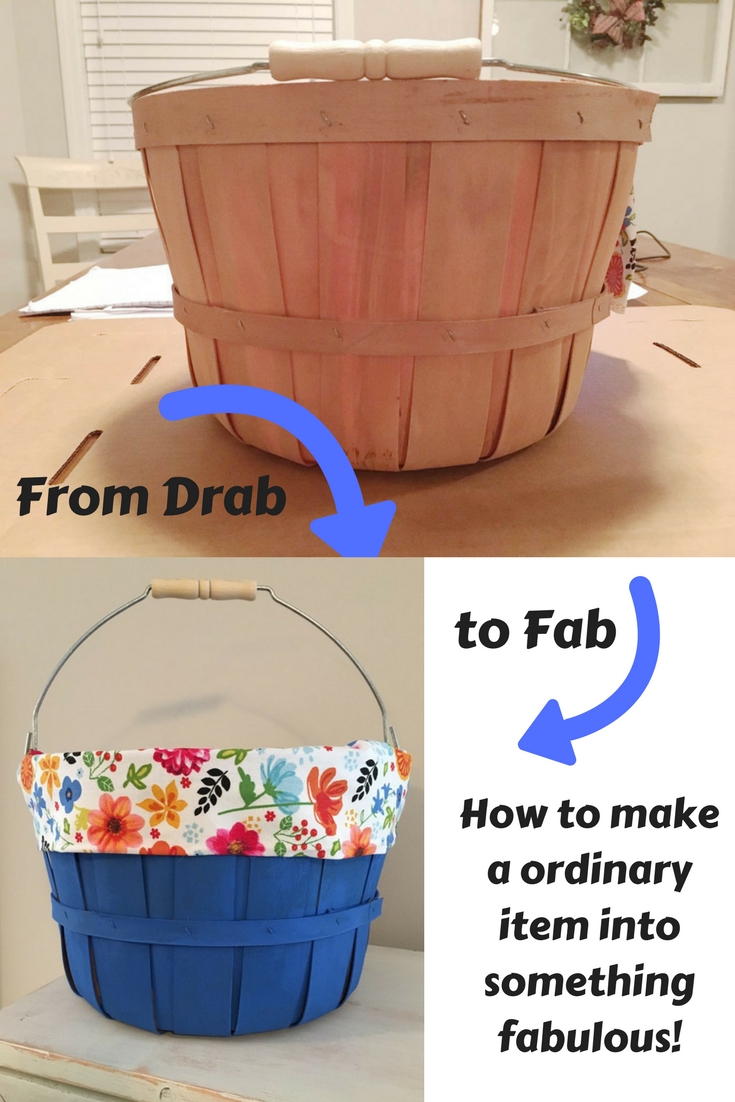
But not all projects are that complicated. A little touch of paint and some fabric can change a normal item into something beautiful.
And sometimes you need something simple to serve a purpose.
My husband and I had just finished a fabulous cabinet for my kitchen and I really needed a basket to go on top of it to hold some fun items. I had an image in my mind of what I wanted but didn’t know where to start so I headed to Hobby Lobby and I found the perfect basket on sale!
The basket wasn’t the color I wanted. Easy fix. I headed over to the paints section and found just the right color blue. Hobby Lobby has a huge selection so it was easy to find what I needed. Originally my plan was just to paint it but as I browsed through the fabric section– I was very inspired by the colors and patterns. I found the perfect fabric to line my basket!
You could easily make this yourself.
Go to any craft store and pick out a basket. I wanted to paint mine but if you find one already painted–even better.

I really liked the shape of this basket. I needed it to hold stuff so this was very handy!
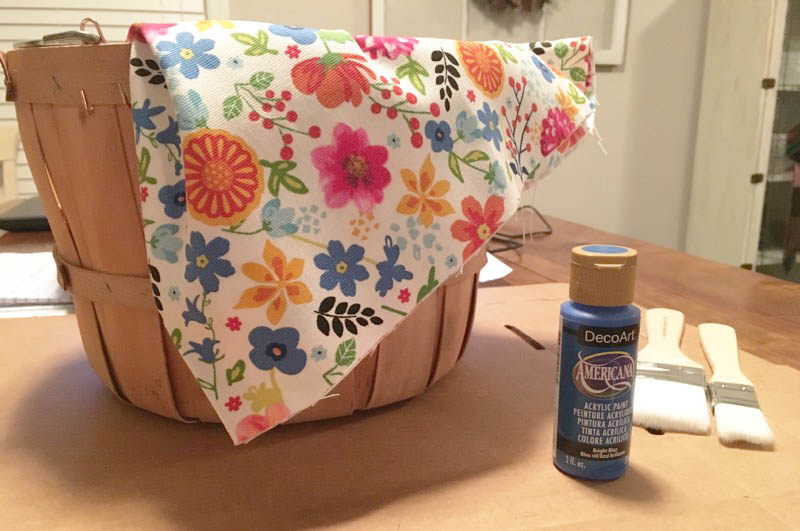
I gathered my supplies and got my workspace ready! My kitchen table!

Time to paint! I had to a hard time painting in every little spot and applied a couple layers until I got the color I wanted.
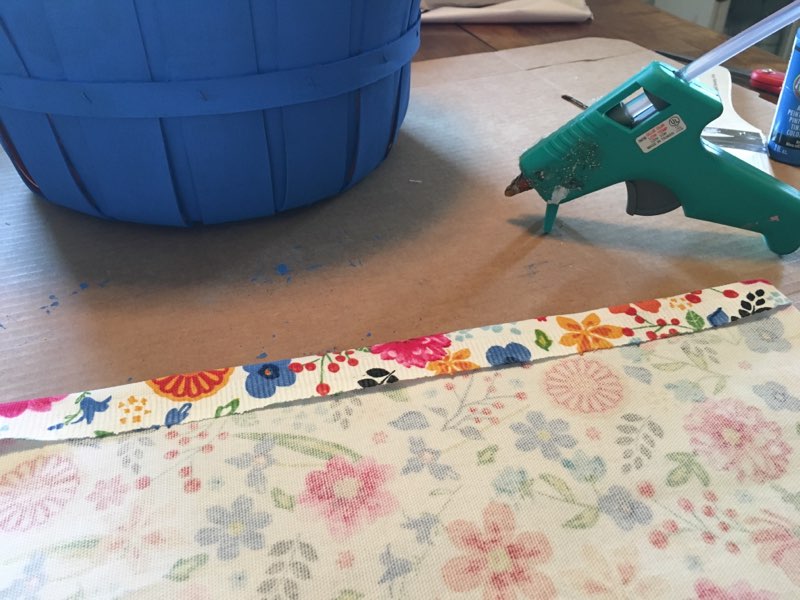
I had my bucket dry overnight. Now it’s time to add the fabric. I bought a half of yard of fabric for my project but I did not end up using it all.
I started by glueing down the rough edges.
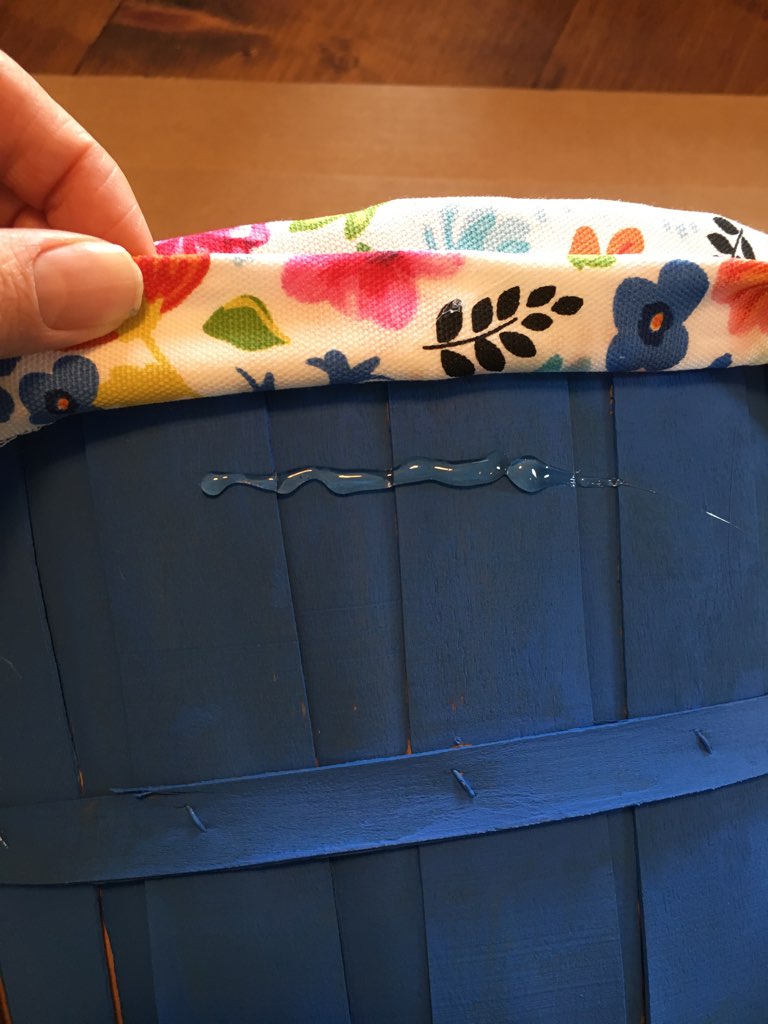
I put the fabric in the bucket and tried to evenly place it on all sides. Then I began to glue. A hot glue gun was the best tool to use!
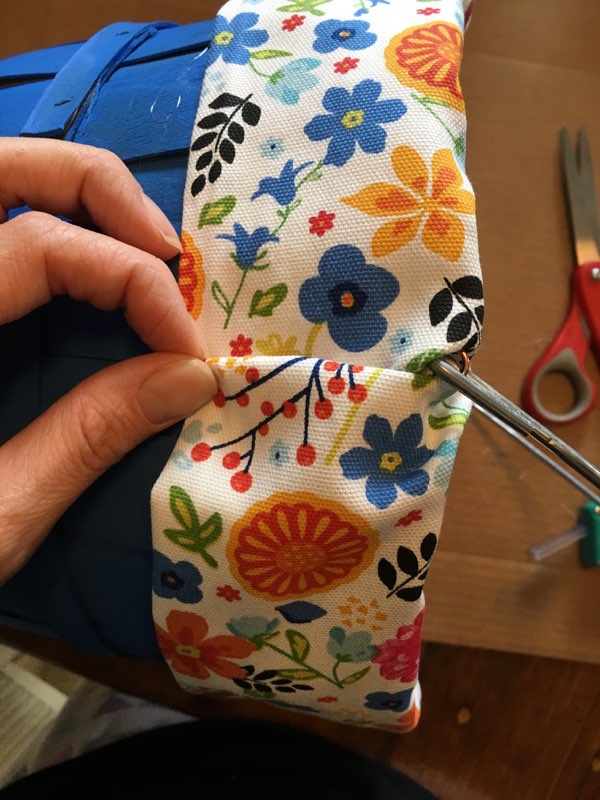
After I glued both sides down I started on the hardest part… the sides. I wanted them to be even and smooth. It’s not perfect but I think that’s what makes it unique.
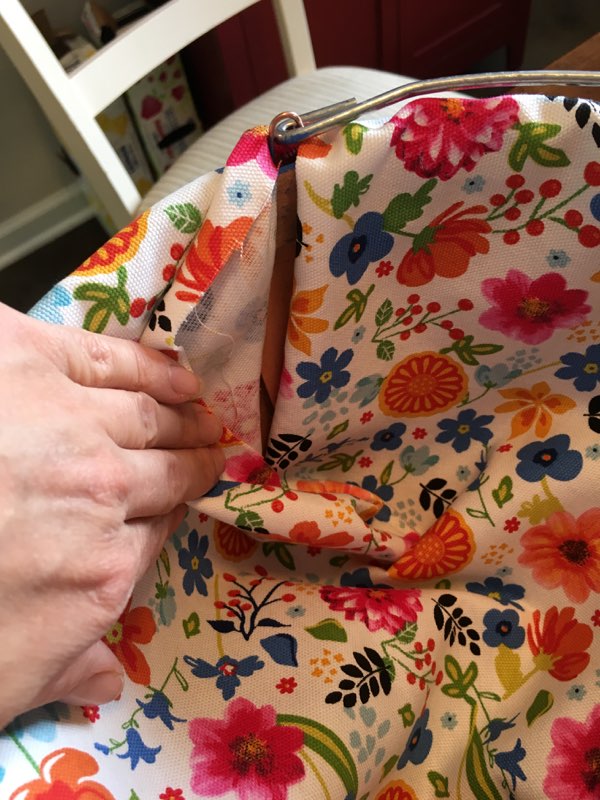
Lastly I wanted to make sure the inside of the basket looked nice. I just folded the rough edges over and glued the fabric on to the inside of the basket. I made sure that I had plenty of fabric on the inside so that it didn’t look stretched and I could hide seams.


And here’s the finished project. Make it your own! What colors do you like? What room will it work in? Have fun with it!

